

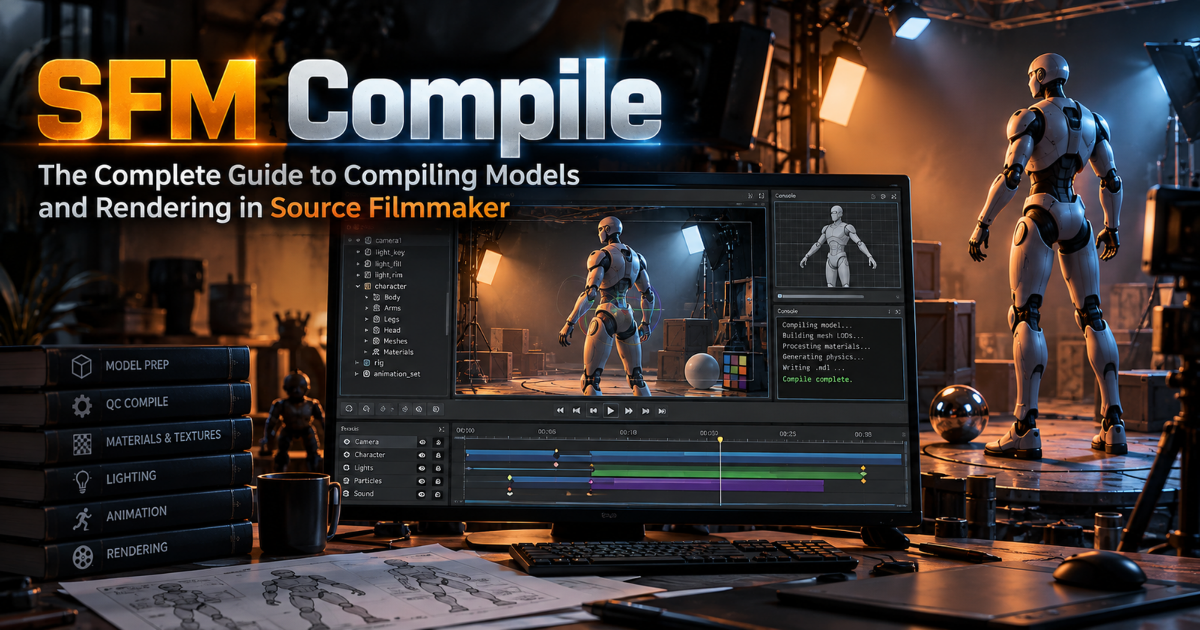
If you have spent any time in the Source Filmmaker (SFM) community, you have seen the phrase “SFM compile” everywhere. Forum threads, YouTube tutorials, and Discord servers all use it. Yet it is confusing, because people use the same two words to mean different things.
This guide clears that up. You will learn what SFM compile actually means, how to compile a custom model step by step, how to render your finished animation, and how to fix the errors that trip up almost every beginner.
What Does “SFM Compile” Mean?
“SFM compile” is not the name of one program. It is a common phrase for two related workflows in Source Filmmaker:
- Asset compiling: converting raw 3D files (models, textures, animations, maps) into formats the Source engine can read.
- Render/export compiling: turning your finished scene into a video file or image sequence.
Some websites describe “SFMCompile” as a single downloadable tool that replaces SFM’s renderer. That is misleading. No official tool like that exists from Valve. Compiling in the Source ecosystem is done with a set of well-known utilities that work together, and we will cover each one below.
Why Compiling Matters
Source Filmmaker is built on the Source engine, the same technology behind Team Fortress 2, Half-Life 2, and Left 4 Dead. The engine does not read common formats like .blend, .fbx, or .png directly. It needs its own formats:
| Raw file | What the engine needs |
|---|---|
| .smd / .dmx (mesh and animation) | .mdl, .vvd, .vtx, .phy |
| .png / .tga (texture) | .vtf |
| Material settings | .vmt |
| .vmf (map source) | .bsp |
Without compiling, your custom character, prop, or environment will not appear in SFM at all. With a clean compile, your asset behaves like a built-in model: it has bones you can pose, materials that react to lighting, and physics if you want them.
Meaning 1: Compiling Models for SFM
This is the most common meaning, and the one beginners struggle with most.
The Tools You Need
- Source Filmmaker: free on Steam. It includes the compiler (studiomdl.exe) in its game folder.
- Blender with the Blender Source Tools add-on, to export .smd or .dmx files.
- Crowbar: a free community tool that gives studiomdl a friendly interface. It can also decompile existing models.
- VTFEdit (or a similar VTF plugin): converts images into .vtf textures and helps create .vmt files.
- A text editor such as Notepad++ for writing QC files.
Download community tools only from their official pages (GameBanana, GitHub, or the author’s site). Random “SFM Compile download” sites are a common source of malware.
Step 1: Prepare Your Model
Before exporting, check the basics in Blender:
- Scale and orientation. Source uses a different scale than most modeling tools. Test with a known reference model.
- Apply transforms and make sure normals face outward.
- Rig correctly. Every vertex that should move needs bone weights. Keep the skeleton clean and logically named.
- Keep it reasonable. High polygon counts and huge bone counts cause compile errors and slow down SFM.
- Name materials clearly. The material name in Blender becomes the material name the compiler looks for later.
Step 2: Export SMD or DMX Files
With Blender Source Tools installed, use the export menu to create:
- A reference mesh (the model itself).
- Animation files (at least an idle pose; many models use a reference pose as the idle sequence).
Put everything in a dedicated project folder, for example MyModel/ with subfolders src/, materials/, and compiled/. Keeping your project organised saves hours of debugging later.
Step 3: Create the Textures and Materials
Convert your texture images to .vtf using VTFEdit, then write a .vmt file for each material. A simple VMT looks like this:
"VertexLitGeneric"
{
    "$basetexture" "models/mymodel/body_diffuse"
    "$surfaceprop" "flesh"
}
Key points:
- The path in
$basetextureis relative to thematerialsfolder and has no file extension. - Use
VertexLitGenericfor characters and props that need dynamic lighting. - Add normal maps or phong settings later, once the basic model works.
Step 4: Write the QC File
The QC file is a plain text script that tells the compiler how to build your model. A minimal example:
$modelname "mymodel/mymodel.mdl"
$bodygroup "body"
{
    studio "mymodel_ref.smd"
}
$surfaceprop "flesh"
$cdmaterials "models/mymodel/"
$sequence "idle" "mymodel_idle.smd" loop fps 30
What each line does:
$modelnamesets the output path inside the models folder.$bodygroup/$bodydefines the mesh.$cdmaterialstells the engine which folder to search for materials. A wrong path here is the number one cause of pink-and-black checkerboard textures.$sequencedefines an animation. A model needs at least one.
Advanced QCs add $collisionmodel for physics, $attachment points, flexes for facial animation, and LODs for performance.
Step 5: Compile with Crowbar
- Open Crowbar and go to the Compile tab.
- Select your QC file.
- Choose the game: Source Filmmaker. Crowbar will point to the correct studiomdl.exe.
- Set the output folder. Many creators compile into the SFM
usermodfolder so the model is available immediately. - Click Compile and read the log.
A successful compile produces files such as .mdl, .vvd, .dx90.vtx, and optionally .phy.
Step 6: Install and Test in SFM
Place compiled files so the folder structure matches:
SourceFilmmaker/game/usermod/models/mymodel/mymodel.mdl
SourceFilmmaker/game/usermod/materials/models/mymodel/body_diffuse.vtf
SourceFilmmaker/game/usermod/materials/models/mymodel/body_diffuse.vmt
Open SFM, create a session, and use the Animation Set Editor to add your model. Test it by:
- Rotating the camera to check lighting from all sides.
- Moving bones to confirm the rig deforms cleanly.
- Checking textures at close range.
If something is wrong, go back, fix the source file, and recompile. Iteration is normal, and experienced creators often compile a model many times before it is perfect.
Meaning 2: Compiling (Rendering) Your SFM Movie
The second meaning of “SFM compile” happens after your animation is done. You export the timeline as a video or image sequence.
Export Options
In SFM, go to File > Export > Movie. You will typically choose between:
- Image sequence (TGA or PNG): each frame is saved as an image. This is the professional choice because if SFM crashes mid-render, you do not lose finished frames. You can also edit the frames in video software.
- Video (AVI): quicker, but a crash can ruin the whole render, and file sizes can be large.
Audio can be exported separately as a WAV file and combined later.
Render Settings That Matter
- Resolution: 1920×1080 is the standard for YouTube. Use lower resolution for tests.
- Frame rate: 24 fps for a cinematic look, 30 or 60 for smoother motion.
- Samples per pixel and motion blur: higher values improve quality but increase render time dramatically.
- Work camera vs. scene camera: make sure the correct camera is active before rendering.
A Smart Workflow
- Render a short low-quality preview first.
- Fix lighting, timing, and camera problems.
- Render the final sequence in full quality.
- Combine frames and audio in a video editor such as DaVinci Resolve, Premiere Pro, or Shotcut.
- Export a final MP4 (H.264) for upload.
Common SFM Compile Errors and How to Fix Them
Pink-and-black checkerboard texture
The engine cannot find the material. Check that the $cdmaterials path in your QC matches the folder where your .vmt is stored, and that the .vmt’s $basetexture path is correct and has no extension.
“Can’t find file” or “unable to open” errors during compile
Usually a wrong file path or a typo in the QC. Make sure the .smd names match exactly, including capital letters, and that the files are in the same folder as the QC (or referenced with correct relative paths).
Model appears but is invisible or tiny
Check scale and export settings in Blender. Also make sure the reference mesh is included in $body or $bodygroup.
Model stretches or deforms strangely
Bad bone weights or a mismatched skeleton between the reference and animation files. Re-export both from the same armature.
Missing physics or the model falls through the floor
You did not define a $collisionmodel, or the collision mesh is not convex-compatible. Add a simplified physics mesh.
Too many vertices or bones
The compiler has limits. Reduce polygon count, remove unused bones, and consider splitting the model into parts.
SFM crashes while rendering
Switch to image-sequence output, lower the render settings, close other heavy programs, and render in smaller chunks. Crashes are one of the main reasons creators avoid rendering directly to a single video file.
Flickering lights or shadows
Reduce the number of active lights and avoid placing many shadow-casting lights close together.
Compiling Maps for SFM
Maps are compiled using the Source SDK’s tools (Hammer editor, VBSP, VVIS, VRAD), producing a .bsp file. Map compiling is more involved than model compiling because of lighting calculation and visibility optimisation. A few tips:
- Keep maps small and optimised; huge open maps are heavy.
- Use fast compile settings while testing and full settings only for the final version.
- Check the compile log for “leaks,” which are gaps in the sealed map that break lighting.
Many creators skip map compiling entirely by using existing community maps, then focus on posing and animation.
Tips for a Faster, Cleaner Workflow
- Name everything consistently. Lowercase names and no spaces prevent path errors.
- Keep a template QC. Reuse a working QC and just change names and paths.
- Version your files. Save numbered copies so you can roll back after a bad change.
- Read the compile log. Errors are almost always explained in the output window. Copy the exact message when searching for help.
- Test early. Compile a rough version of the model before spending hours on details.
- Use trusted communities. The Valve Developer Community wiki, GameBanana, Steam discussions, and Reddit’s SFM communities are good places to ask questions.
- Back up your project. A crashed session or corrupted file is much less painful with backups.
Safety, Legality, and Community Etiquette
A few important points that many guides skip:
- Respect copyright. Do not upload or sell models ripped from commercial games unless the license allows it. Many community assets have specific usage rules. Read the credits and terms.
- Credit creators. If you use someone’s model, map, or texture, give credit.
- Beware of fake downloads. Sites offering a magical “SFM Compile tool” often bundle adware or malware. Stick to official sources.
- Follow platform rules. YouTube and other platforms have strict policies on content. Check them before publishing, especially for monetisation.
Frequently Asked Questions
What does SFM compile mean?
It usually means either converting custom assets (models, textures, maps) into Source-engine formats, or exporting your finished animation as a video or image sequence.
Is SFM Compile a software?
No. There is no single official program with that name. Compiling is done with tools such as Crowbar, studiomdl, VTFEdit, and Source SDK utilities.
What software do I need to compile a model for SFM?
Source Filmmaker, Blender with the Blender Source Tools add-on, Crowbar, and a texture converter such as VTFEdit.
What is a QC file?
A QC file is a text script that tells the compiler how to build a model: its meshes, materials folder, animations, physics, and other settings.
Why is my SFM model pink and black?
The material path is wrong or the .vmt/.vtf files are missing. Check $cdmaterials and $basetexture.
How long does an SFM render take?
It depends on resolution, samples, lighting, and scene complexity. A short, simple clip can take minutes; a high-quality scene can take hours. Always test with low settings first.
Should I render to AVI or an image sequence?
Image sequences are safer and more flexible. If SFM crashes, you keep the frames already rendered.
Can I compile models from other games for SFM?
Technically many can be converted, but legality depends on the original license. Only use assets you have the right to use.
Final Thoughts
“SFM compile” sounds technical, but it comes down to two simple ideas: prepare your assets so the Source engine can read them, and export your finished scene so everyone else can watch it. Once you understand the pipeline of Blender, SMD export, QC file, Crowbar, and SFM, the process becomes repeatable. The same goes for rendering: preview first, render an image sequence, then edit.
Start small. Compile a simple prop, fix the errors you see, and build up to characters and full scenes. Every experienced SFM animator started with a pink-and-black checkerboard model.